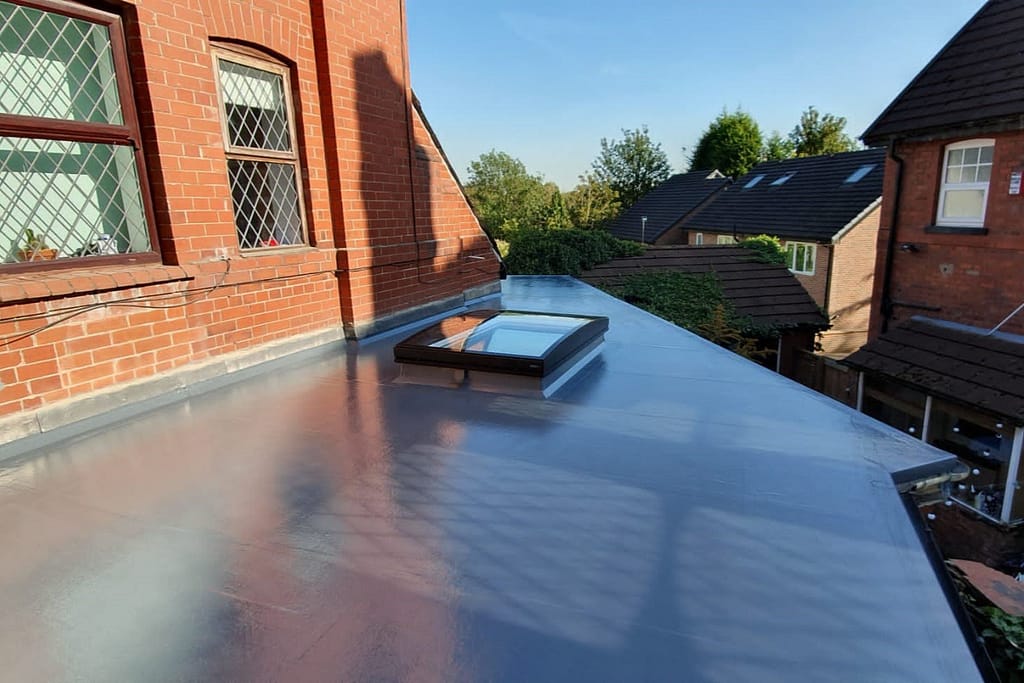
At DM Roofing, we pride ourselves on delivering top-tier roofing solutions that combine durability, functionality, and aesthetic appeal. Recently, we undertook a large-scale GRP roofing project in Oldham, featuring a roof that wrapped around the side and back of the house, complete with a roof lantern window. In this case study, we’ll walk you through the process and benefits of GRP roofing.
The Advantages of GRP Roofing
GRP (Glass Reinforced Plastic) roofing is a modern, high-performance option that offers numerous benefits:
- Longevity: GRP roofs can last for decades with minimal maintenance.
- Seamless Protection: The application process creates a continuous, joint-free surface that is entirely waterproof.
- Resistance: GRP is highly resistant to UV rays, weather damage, and fire.
- Aesthetics: Available in various finishes, GRP can be tailored to complement any home’s design.
Step-by-Step Process
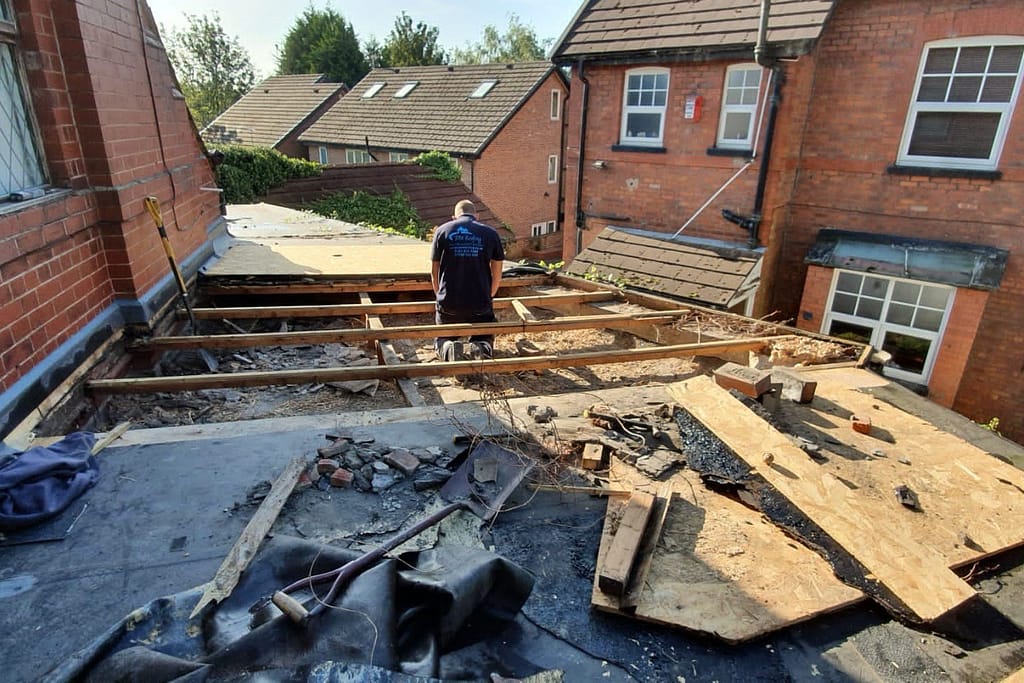
Step 1: Surface Preparation
- We began by preparing the existing roof surfaces, ensuring they were clean, dry, and smooth. This step is crucial for the proper adhesion of the GRP materials.
Step 2: Installing Preformed GRP Trims
- Next, we installed preformed GRP trims around the edges of the roof and the roof lantern opening. These trims provide a neat finish and protect the edges from water ingress. They were securely fixed in place using GRP resin.
Step 3: Applying the Base Layer
- We then applied the base layer of resin to the prepared surfaces, creating a strong foundation for the GRP system. This layer was spread evenly and allowed to cure, ensuring a solid bond.
Step 4: Laying the Fibreglass Matting
- Once the base layer was ready, we laid the fibreglass matting over the entire roof surface, including the area around the roof lantern. This matting reinforces the roof and adds strength. Another layer of resin was applied over the matting, ensuring complete saturation and adhesion.
Step 5: Applying Additional Layers
- To maximize durability and waterproofing, additional layers of resin and matting were applied. This multi-layered approach ensures a robust, long-lasting roof. Each layer was allowed to cure thoroughly before the next was added.
Step 6: Installing the Roof Lantern Window
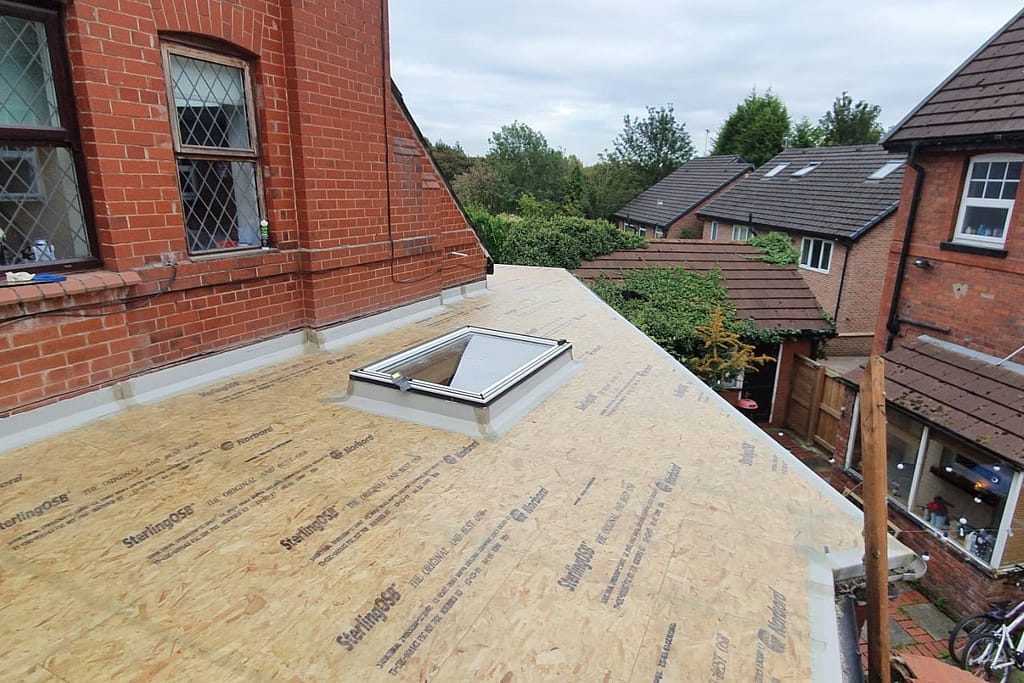
- A key feature of this project was the installation of a roof lantern window. We carefully integrated the roof lantern into the GRP system, ensuring a watertight seal and seamless finish. This addition enhances the natural light within the home and adds a stylish architectural feature.
Step 7: Finishing with a Topcoat
- The final step was applying a topcoat to the cured GRP surface. We selected a finish that complemented the home’s existing architecture, adding a sleek and modern look. The topcoat also provides additional protection against UV rays and weathering.
Step 8: Final Inspection and Cleanup
- After the topcoat had cured, we conducted a thorough inspection to ensure the roof was perfectly installed and fully waterproof. We also cleaned up the work area, leaving the property in pristine condition.
Why DM Roofing is Your Best Choice for GRP Roofing
This GRP roof in Oldham highlights the expertise and commitment to quality that DM Roofing brings to every job. With over 25 years of experience, we offer a comprehensive range of roofing services, including slate and tile reroofing, repairs, and gutter cleaning. Our no-obligation quotes, transparent pricing, and no call-out charges ensure you receive exceptional service without any surprises.
If you’re considering a GRP roof for your property, trust the professionals at DM Roofing. Contact us today to discuss your roofing needs and discover how we can provide a durable, stylish solution for your home.

