

If you’re considering a roofing solution that combines durability, cost-effectiveness, and aesthetic appeal, a GRP (Glass Reinforced Plastic) flat roof might be the perfect choice for your home. At DM Roofing, we recently completed a GRP flat roof installation for an extension with a large roof lantern window in Stockport. In this case study, we’ll take you through the process and benefits of GRP roofing.
Understanding GRP Flat Roofing
GRP, also known as fibreglass, is a composite material made from a plastic matrix reinforced with fine glass fibres. It is increasingly popular for roofing due to its exceptional durability, resistance to weather damage, UV rays, and fire, and minimal maintenance requirements. A properly installed GRP roof can last up to 30 years, making it an excellent investment for homeowners.
Step 1: Installing the Preformed GRP Trims
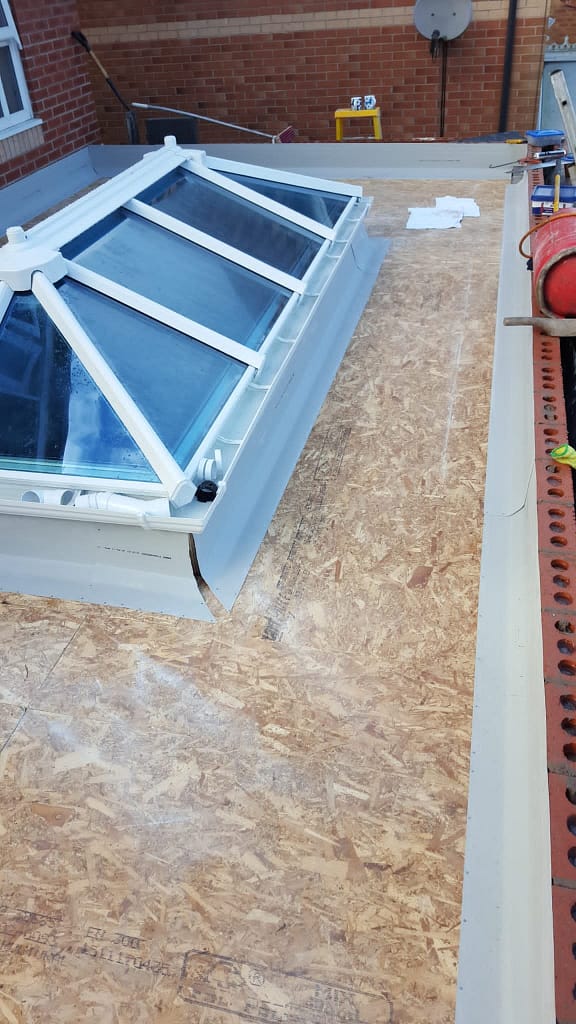
- The first step in the GRP roofing process is installing preformed GRP trims around the perimeter and the roof lantern window. These trims are essential for providing a neat finish and a solid base for the GRP layers. We carefully measured and fixed the trims using GRP resin, ensuring a smooth edge and seamless fit.
Step 2: Bandaging All Joints and Corners
- Next, we reinforced all joints and corners with GRP matting and resin. This involved cutting the matting to size, applying it to each joint or corner, and then coating it with resin. We repeated this process to create a strong, sealed bond, crucial for preventing leaks and enhancing the roof’s durability.
Step 3: Installing the 3-Layer GRP System
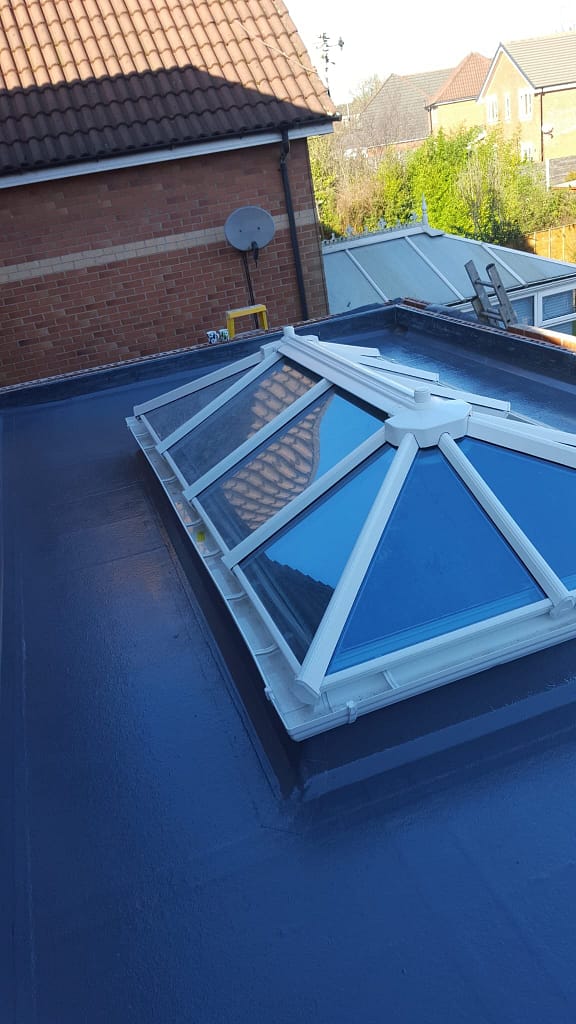
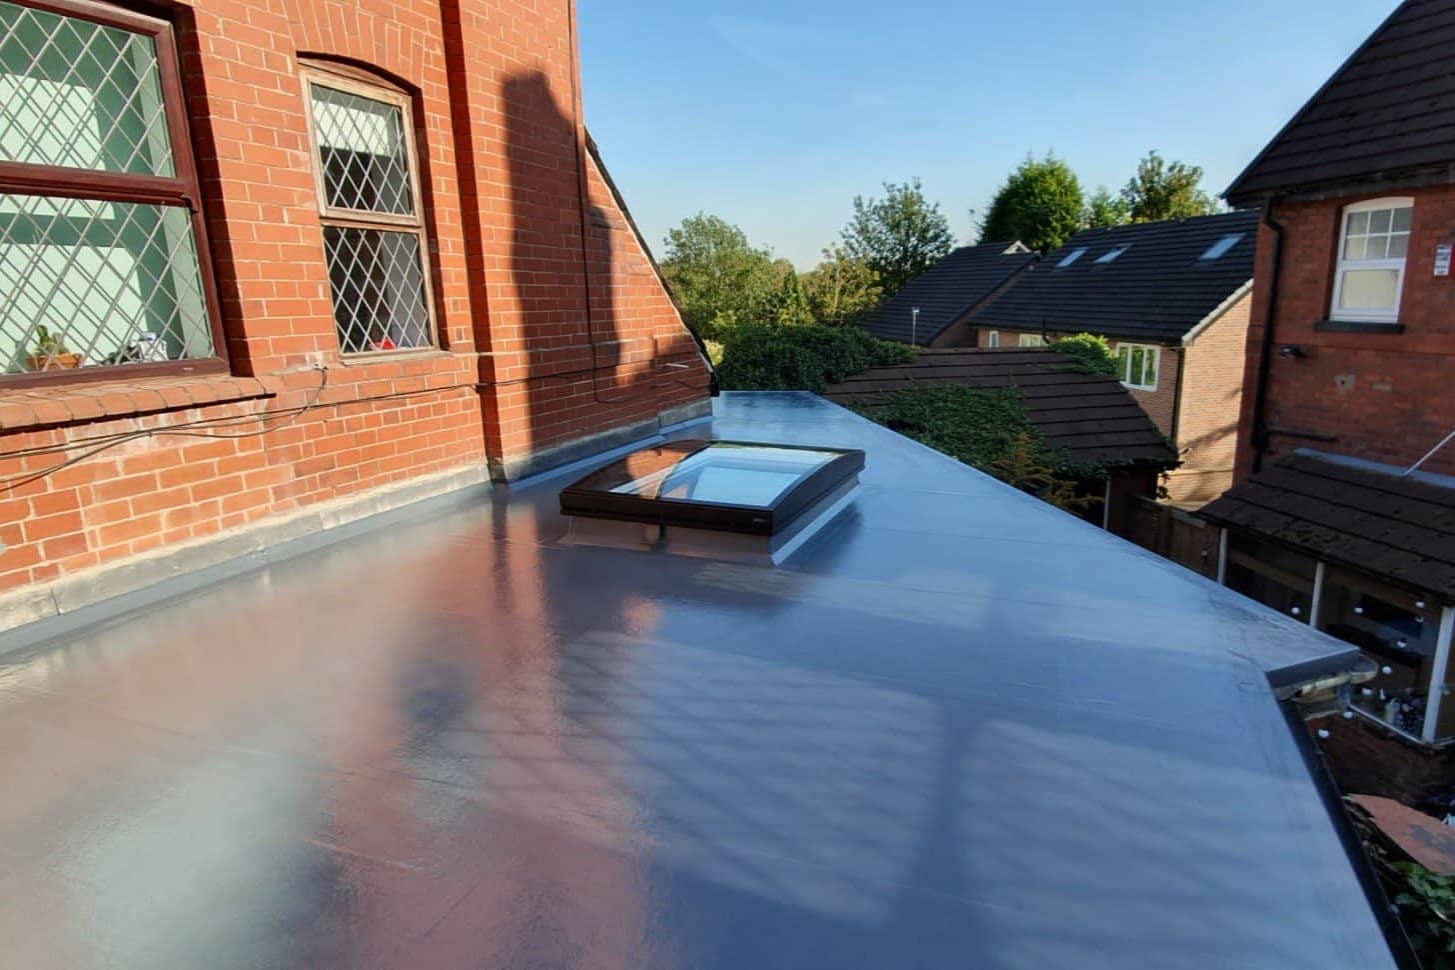
- The core of the GRP roofing process involves laying down the 3-layer system. We started with a coat of resin, followed by a layer of chopped strand matting, and then another coat of resin. This process was repeated three times, creating a robust and waterproof membrane. For the finishing touch, we applied a dark grey topcoat that complemented the existing architecture of the home.
Step 4: Integrating the Roof Lantern Window
- A key feature of this project was the large roof lantern window in the centre of the extension. We carefully integrated the roof lantern into the GRP system, ensuring it was securely sealed and watertight. The roof lantern not only adds natural light to the interior but also enhances the aesthetic appeal of the extension.
Step 5: Lead Flashing the Wall
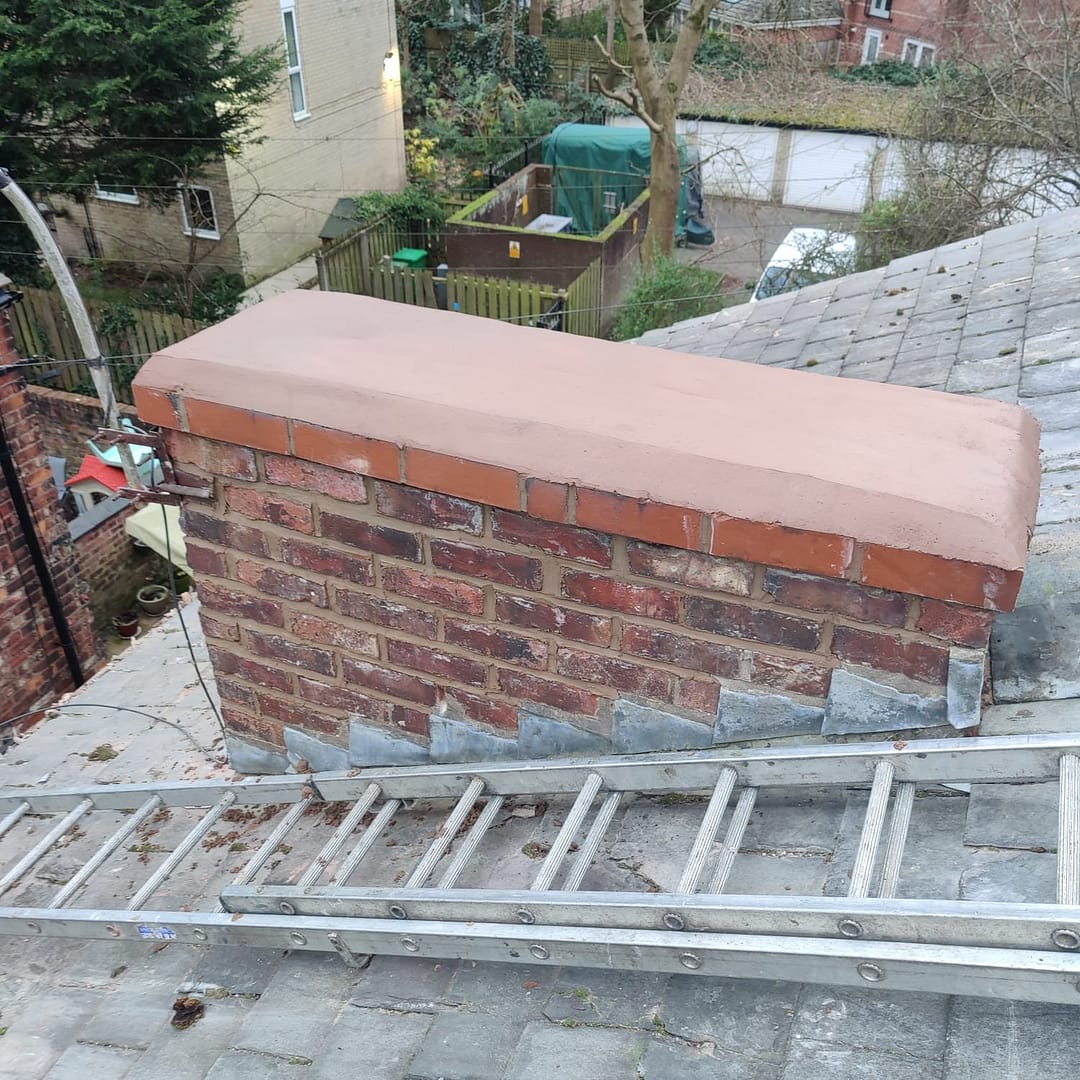
- Finally, we completed the installation by lead flashing the adjoining wall. Lead flashing is critical for directing water away from the roof and preventing seepage into the property. This final step ensured the GRP roof was completely waterproof and ready to withstand the elements.
Trust DM Roofing for Your GRP Roofing Needs
The GRP flat roof installation we completed in Stockport is a testament to the quality and expertise that DM Roofing brings to every project. With over 25 years of experience, we provide no-obligation quotes, no hidden fees, and no call-out charges. Plus, we document our work with before and after photos and videos, so you can see exactly what was done to your roof.
If you’re considering a GRP reroof for your property, trust the experts at DM Roofing. Contact us today to discuss your roofing needs and discover how we can help protect and enhance your home.


